The most effective kitchen hood cleaning products
A kitchen equipped for the needs of a modern hostess cannot be imagined without a high-quality functional hood. The purpose of this device is to clean the air in the room from steam, combustion products, fat droplets formed during cooking. In addition, the hood can be an element of the interior, a real decoration of the kitchen. But only if it shines with cleanliness and works properly. Have you noticed that your hood has noticeable dirt? So, it's time to arm ourselves with our tips and start properly cleaning the device that is so important to us.
Why does the hood need regular cleaning?
The first thing that catches your eye upon entering the house is cleanliness or its absence. Of course, we do not look into every corner in search of garbage while visiting. But items such as the hood are always in full view in all their glory.
Performing its immediate function - cleaning the air above the stove - the hood collects fat on its surface, which, in turn, sticks to dust and other contaminants. Over time, all this can turn into a substance resembling a sticky thick pile. Naturally, such a hood looks ugly and unhygienic, and the kitchen where it is located is no longer a cozy corner for family dinners and friendly conversations.
Smoke, steam and grease from cooking, settling on the surface of the hood, eventually turn into an ugly and hard-to-remove plaqueBut it's not just about beauty. As with any device, the quality of its work depends on the cleanliness of the hood. The same coating of grease and dust that we talked about above becomes almost continuous, clogging the mesh cells and the space between the internal parts of the structure. The device draws out air much worse, and especially the combustion products contained in it (they simply settle on close surfaces), turns off in the process, and over time may even break down. 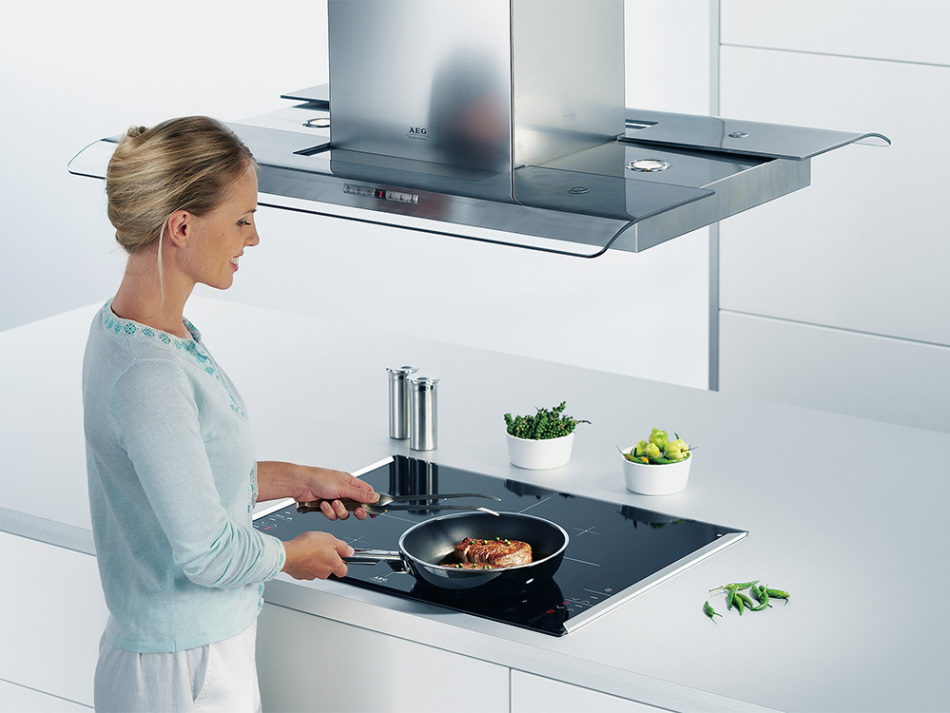 Both external gloss and smooth operation are important for the hood, so it is very important to keep it clean.
Regular and timely cleaning of the hood guarantees the good functioning of the device, which means clean air, the absence of unpleasant odors, fumes and smoke in your home, no matter how much you cook.
I think you need to understand a little about the device of the hood to understand why it becomes so sticky. It is located directly above the hob of the stove, from which hot air rises. It carries small particles of fat, which settle first of all on the grate of the grease trap. Its design is simple and almost the same on all models. A mesh of aluminum or steel laid in several layers is taken into the metal frame. It is she who does not let air through with all the additives directly. Liquid, grease and smoke particles are sure to collide with metal. Fat will settle on the filter first, followed by drops of hot steam, and fumes and small debris will stick to this sticky base. Everything that remains on the grease trap grid is either exposed to a new high temperature, or cools down, eventually turning into a frozen mass, which will be very difficult to wash off.
How often do you need to wash the hood
If you want to avoid the need for major cleaning as long as possible, make it a rule to wash the hood after every cooking on the stove. Especially if you had to cook for a long time for a large number of guests. It is very simple, it is enough to carefully wipe all surfaces first with a sponge in soapy water, paying special attention to the grate, corners and bends, and then with a dry soft cloth so that no wet areas remain.
 Try to remove surface dirt from the hood as often as possible so that they do not accumulate and become old.
 But even if you wipe the hood daily, do not refuse a thorough cleaning. At least once a month - one and a half disassemble the device and wash it from the inside. Although you have kept cleanliness, a coating of grease, dirt and soot is still formed on the internal hard-to-reach surfaces, which prevents the hood from working.
Getting Started: Preparations
So, you have decided to arrange a bath day for the hood. The first thing to do is to disconnect the device from the mains, the second is to disassemble it into separate parts. If this is your first time doing this, be sure to read the instructions for your model. The scheme for disassembling the hood is, in principle, the same, but some manufacturers may have certain design features. In addition, the instructions will indicate the features of the material from which the structure is made, and hence what means and methods cannot be used when washing it.
How to properly disassemble the device
After turning off the hood, start dismantling it in the following sequence.
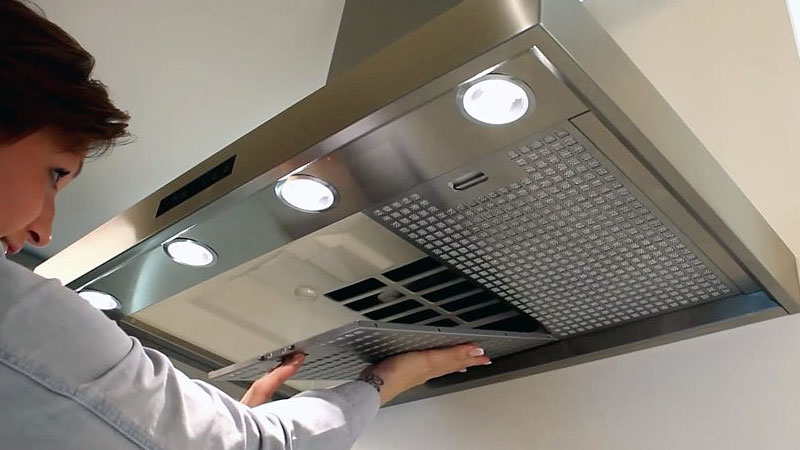
During disassembly, immediately place each part of the structure in water for subsequent laundering. The empty case will also need to be rinsed inside and out to remove any contaminants.
Tools to help you clean the hood
The hood is ready for a major cleaning, and now you need to choose which products to apply. This can be special household chemicals, which are now available in a large assortment in stores, or the usual folk remedies that have proven their effectiveness over many years of use.
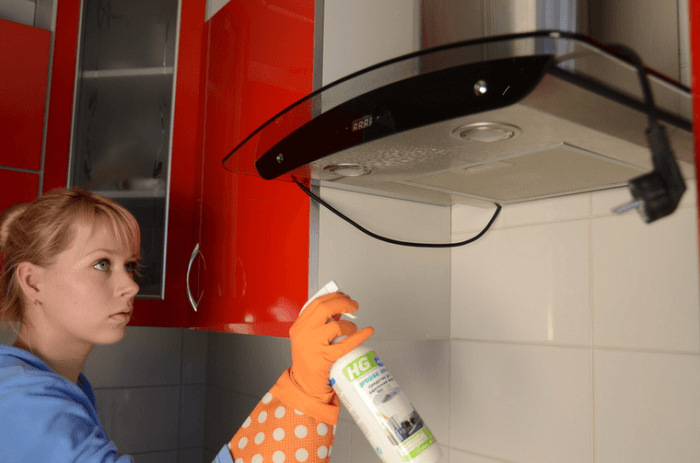
Let's start with household chemicals. They act very quickly, removing even the most stubborn stains within minutes. Their effectiveness is based on the fat-splitting action of some of the substances that make up their composition. These can be special products for hoods, but many housewives use oven cleaners: their composition is almost identical, which means the effect too.
Important: no matter what product you use when cleaning the hood, chemical or folk, be sure to wear rubber gloves. Even plain water with prolonged exposure can damage the skin of your hands, not to mention active substances that can quickly destroy dirt.
The most popular special household chemicals - a table based on data from Yandex.Market
| Name | Compound | purpose | Instructions for use |
| Concentrated foam Shumanit grease remover Extra Bagi |
|
|
|
| Kitchen furniture, extractor hood, microwave oven, stove, oven, refrigerator, sink, ventilation grille, tiles and plastic panels, blinds. |
|
|
| For metal surfaces, glass ceramics, enamelled surfaces, cookers, ovens, grills. | Turn the spout to the ON position. For non-food contact surfaces:
For food contact surfaces:
|
|
| For surfaces of cookers, ovens, grills, pans, frying pans, from other surfaces for cooking, steam traps, tiles. |
|
|
| Cleansing Milk Frosch Mineral |
| For glass-ceramic, electric and gas stoves, as well as hoods, pots, trays, ovens and grills. |
|
| Dr.Beckmann Stainless Steel Cleaning Foam |
| For sinks, faucets, fume hoods, kitchen utensils. |
|
| For tiles, stoves, grills, ovens, microwaves. | Spray on the surface, leave for a few seconds, wipe with a damp cloth. | |
| Cleaning powder Sanita with fat splitter "Anti-fat" |
| For bathtubs and sinks; for metal products; for stoves, grills, ovens, microwaves |
|
| Meine Liebe Antifat Fat Remover |
| For removing burnt fats, oils, stubborn food stains from the surfaces of glass-ceramic stoves, ovens, grills, hoods, stainless steel, tiles, plastic, frying pans, pots, microwave ovens. |
|
| For effective cleaning of ovens, stoves, trays and grills for barbecues, braziers from old traces of burnt fat, food, burnt sugar |
|
Photo gallery of household chemicals for washing the hood
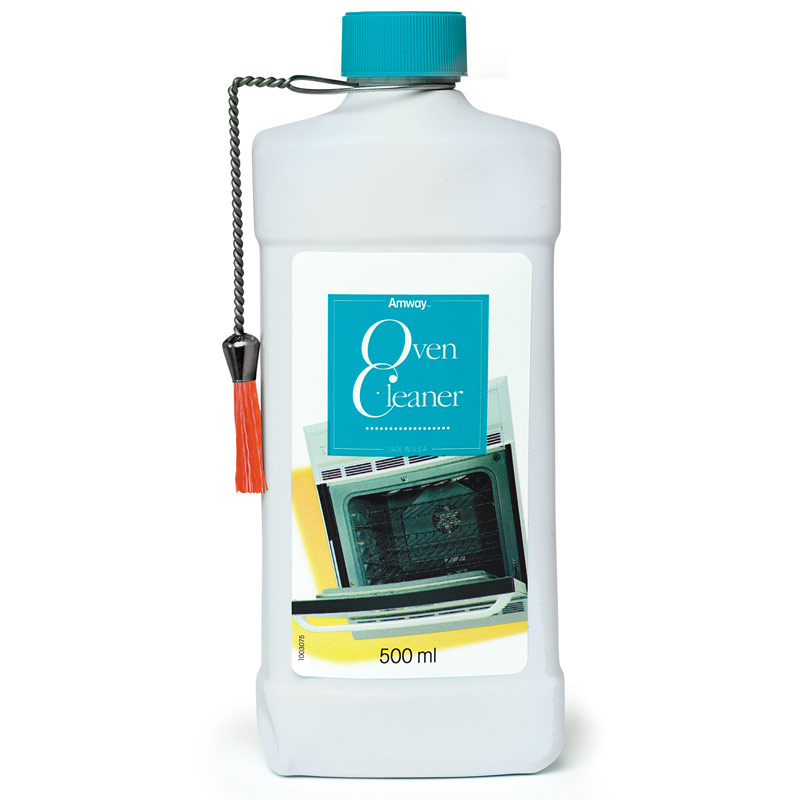 More and more housewives trust the new Amway Oven Gel Cleaner Dr.Beckmann Cleaning Foam is a must have if you have a stainless steel hood Unicum Gold Series Grease Remover is specifically designed to tackle stubborn dirt Meine Liebe Anti Grease will perfectly clean almost all kitchen surfaces
 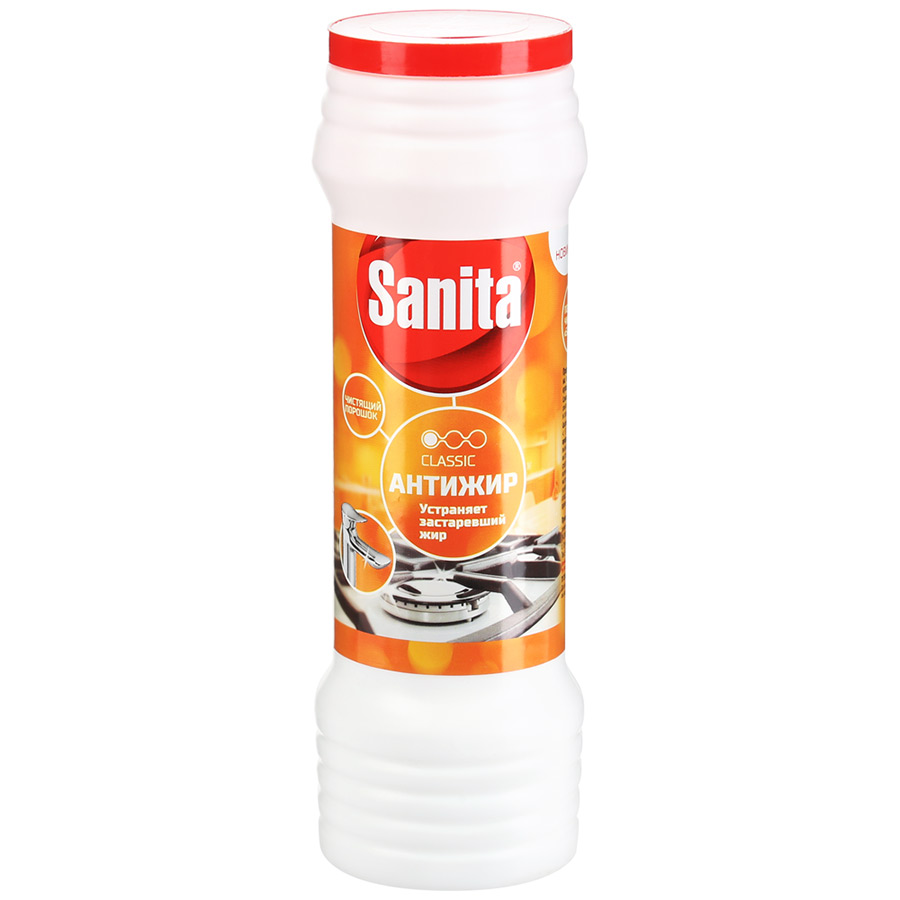 Cleaning powder Sanita contains an effective fat splitter "Anti-grease" Cleaning agent 1 minute Sanita really copes with dirt for one minute Cillit BANG cleaning agent is very popular among housewives CIF Anti-grease agent will not only remove any grease in the kitchen, but also leave a pleasant aroma Frosch milk is universal for almost any surface Shumanit - a product that has long been known for its effectiveness against fat
Folk and home remedies and their use
And now let's talk in more detail about how to restore cleanliness and shine to the hood using simple cheap products in your home. This will help you:
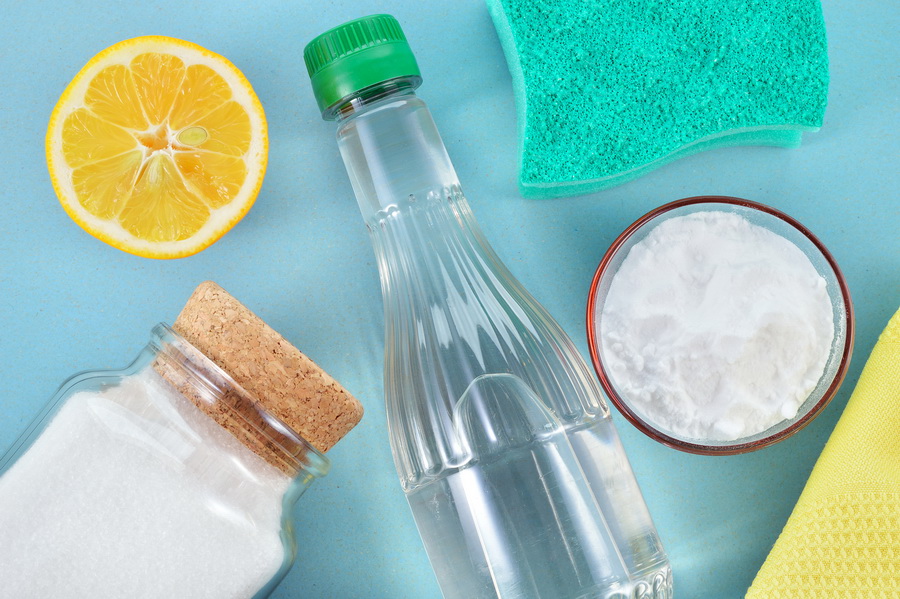
Each tool has its own way of using it.
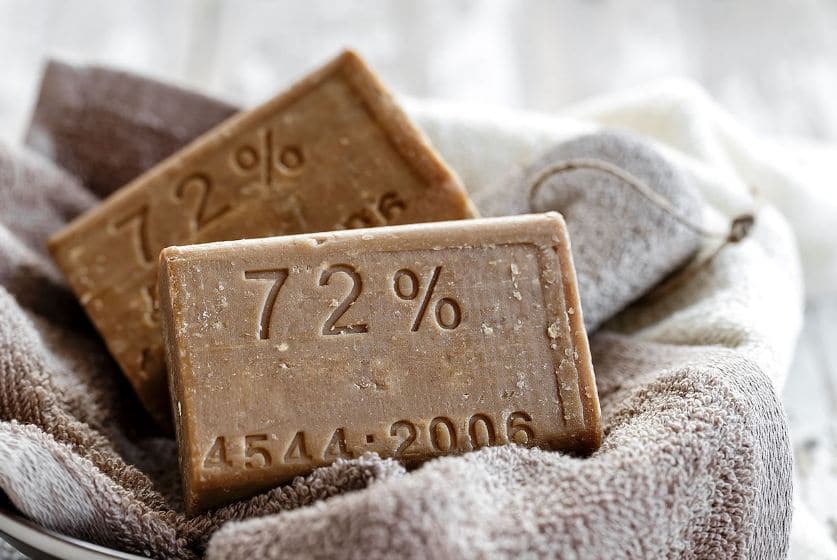
How to use soap solution correctly
In addition to soap or other mortar solution, arm yourself with a sponge and steel wool.
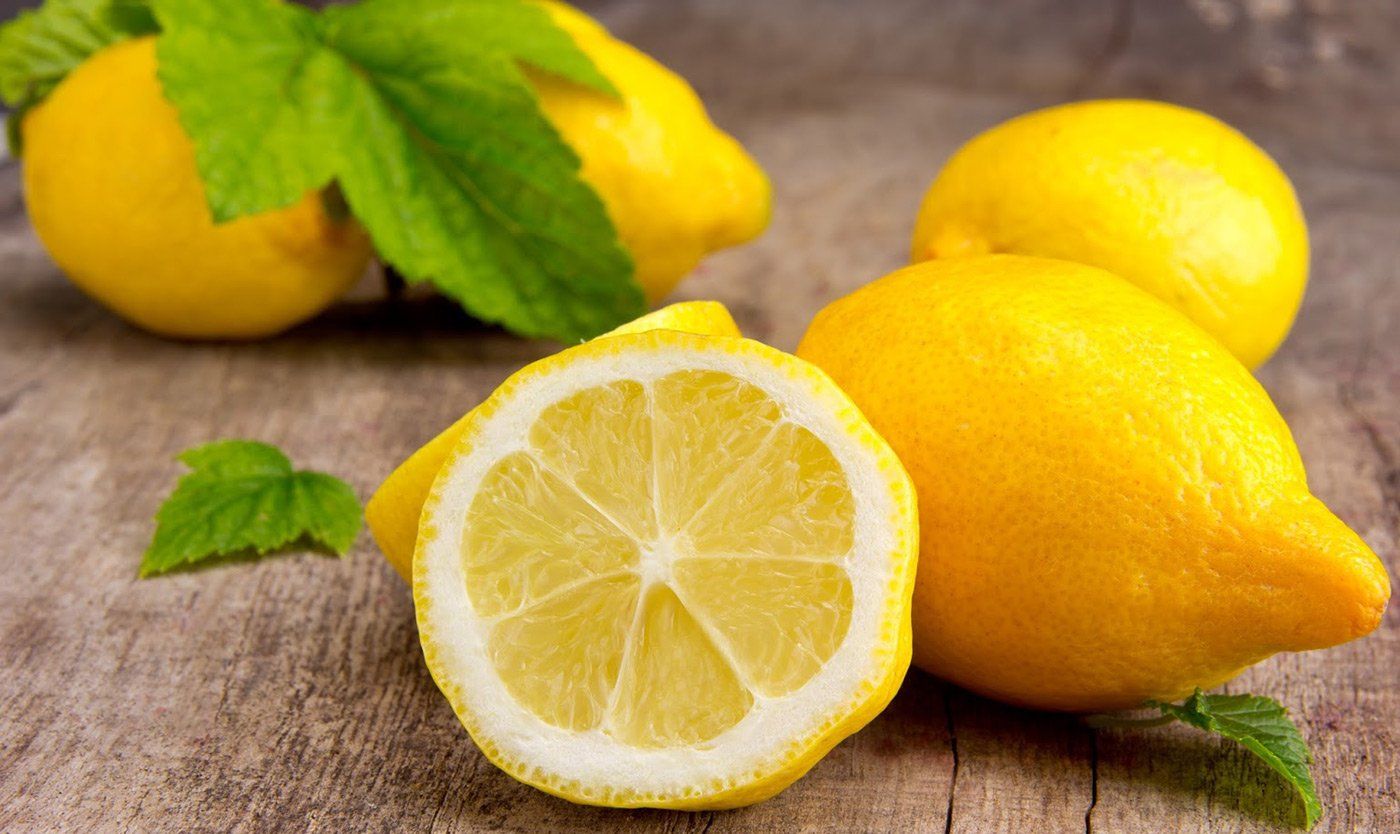
We apply vinegar
Before you start cleaning with vinegar, ensure ventilation in the room: not everyone likes the smell of this product, and its concentration may make you feel worse. ![]() Vinegar cleans and launders perfectly, but when working with it, you need to ventilate the room.
Vinegar cleans and launders perfectly, but when working with it, you need to ventilate the room.
- Apply vinegar to the surface of the grate with a sponge. Wipe heavily soiled areas especially thoroughly.
- Leave the dampened grate for 10-15 minutes.
- Clean the dissolved fat with the hard side of a sponge or brush.
This method is good because, in addition to efficiency, it leaves behind a pleasant citrus aroma.
Cleaning the kitchen hood with baking soda
Perhaps, soda is the most popular means for washing any kitchen surfaces. 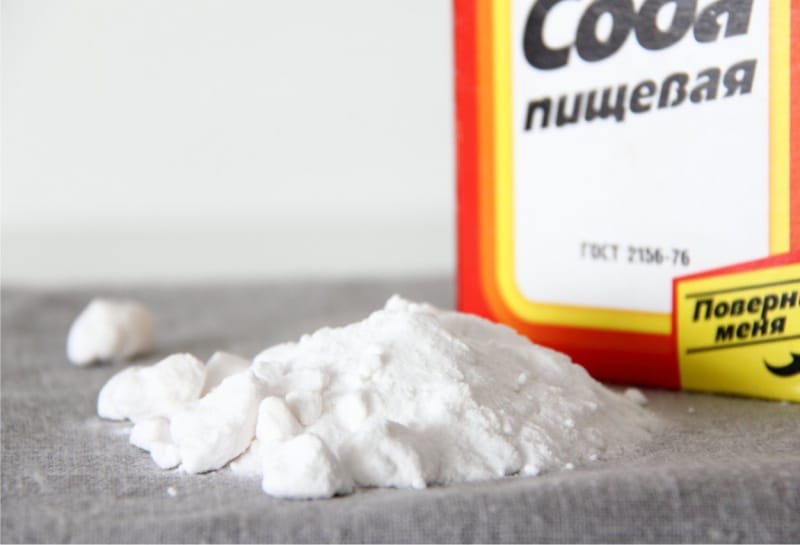 Soda is ideal for cleaning the hood
To clean the hood with it, follow this algorithm.
- In a large aluminum or enamel container, fill a little more than 2/3 of the volume with water. Put on fire.
- Add soda to boiled water in the ratio of 1 cup per 10 liters. Reduce fire intensity to minimum.
- Place the exhaust grate and metal filter into the container with the solution. While the water is slowly boiling, the fat will soften and peel off the surfaces.
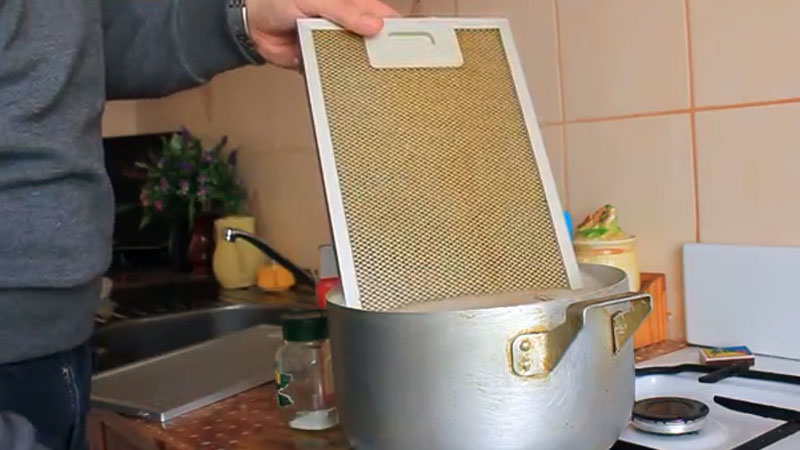 Put the dirty grate into the boiling soda solution and cook for a while
 - After about 10 minutes, remove the items from the water and see how well the fat has come off. If the dirt is easily removed, you can wash the grate with a filter with a sponge under running warm water. Otherwise, the details need to be “cooked” for some more time. Be sure to dry the cleaned items.
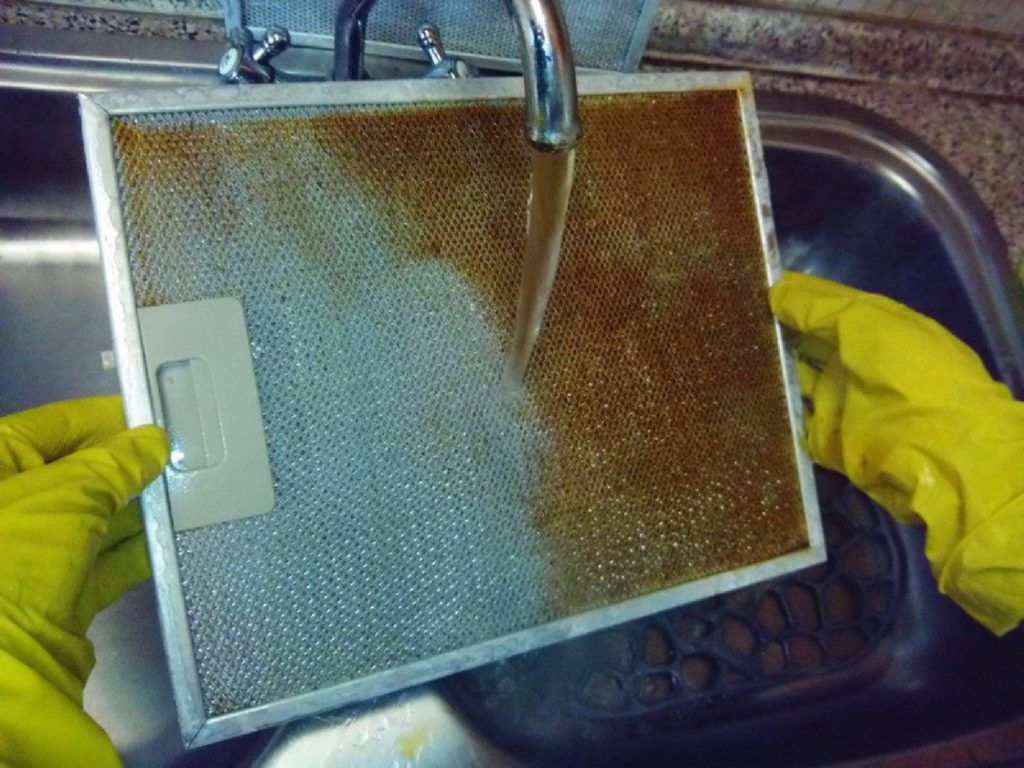 The softened exfoliated fat will easily move away under the pressure of running water
 - In hard-to-reach places - cracks, folds - fat may remain. You can easily remove it with an old toothbrush or cotton swab.
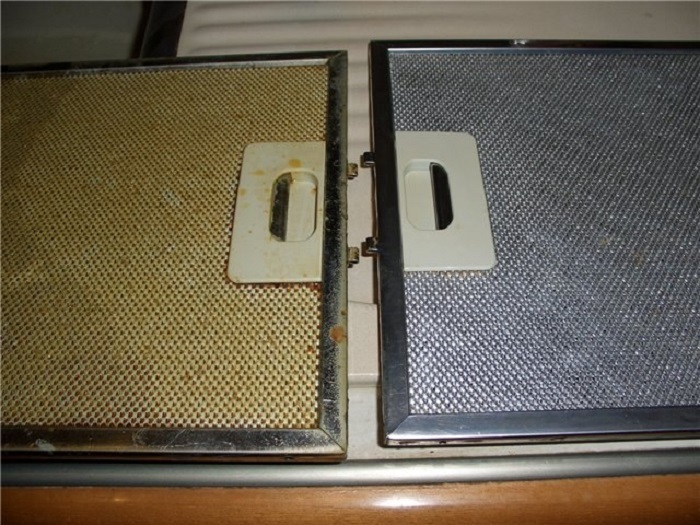 Hood grates before and after cleaning with soda
Note! You can enhance the effect of soda if you dissolve a little grated laundry soap in water along with it.
Video: we clean the hood with soda in 15 minutes
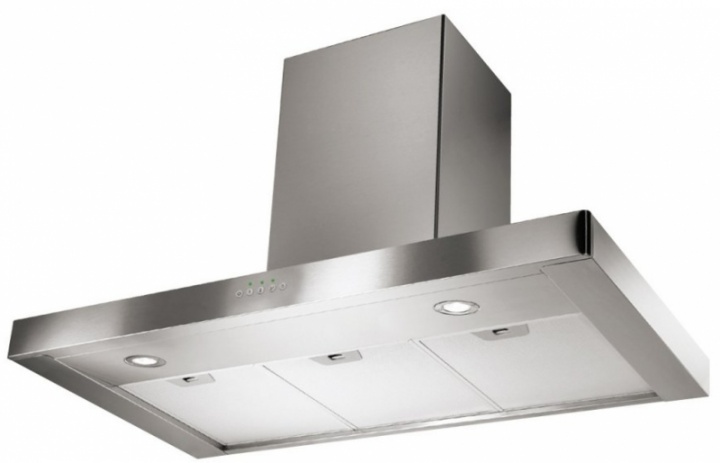
Features of cleaning stainless steel hoods
You probably know that not all methods are suitable for stainless steel. She is afraid not only of products containing alkali, but also of abrasive powders and even salt, which cause corrosion on such a surface. But the following tools will cope well with grease and dirt on stainless steel:
Use the first 3 products in the same way as described in the methods above, and special ones - strictly following the instructions on the package.
Last resort: use a professional drain cleaner
It happens that it is not possible to cope with cleaning the hood, namely the filter, using the means described above, the pollution turns out to be so complex. There is one way that will help even in this case.
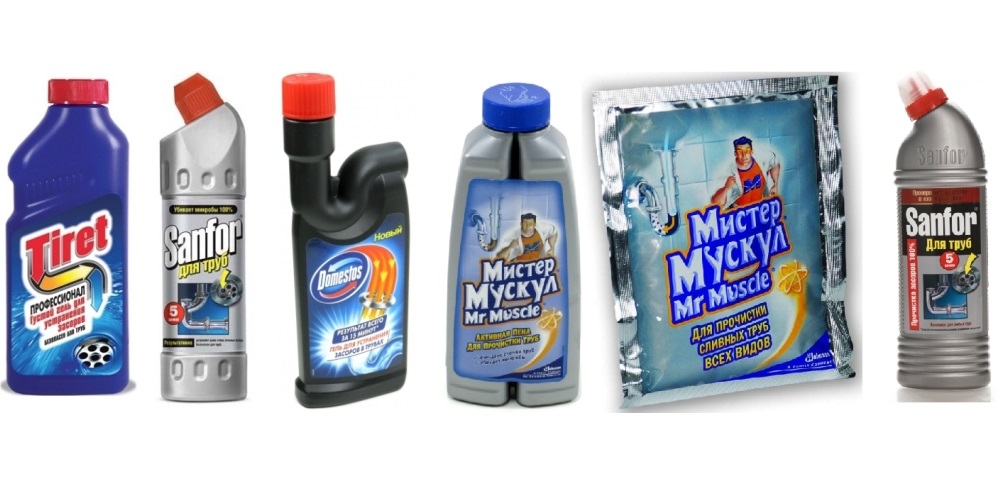
Note! In pipe cleaners, the active ingredient is alkali, which is aggressive to metal surfaces. Therefore, they can clean the hood no more than 2 times during the entire operation of the device, only as a last resort.
Video about cleaning the hood from grease
Rules for the care of the hood and preventive measures
If you often cook, then contamination of the hood cannot be avoided. But we know how to prevent stubborn clogs and make major cleanups rare. Observe simple preventive measures during the operation of the appliance.  Preventive measures for the care of the hood will save you from frequent and difficult cleaning of the device
- When buying a new hood, entrust its installation to a specialist. This will ensure correct operation and a significant reduction in blockages.
- Turn off the stove when not cooking on it to prevent smoke from settling on the hood surfaces.
- Cover pans and pots with lids while cooking. Grills specially designed to prevent oil splashing will also help you.
- Wash the surfaces of the hood as often as possible with soapy water and wipe dry. It is much easier to remove the fat from the grate before it has time to harden and become dusty.
Even the most modern appliances that provide comfort in the kitchen need our care and attention. Who, if not us, will return its purity and functionality? So the hood is no exception, and now you know all the ways and means of cleaning it and maintaining it in good condition. Comfort and cleanliness to your home!